
Licensing & activation
Grafucci Code is a WordPress plugin license — not a cloud app. You do not need a grafucci.com account. Buy a plan, receive your secret license key by email from Freemius, and activate inside wp-admin.
1. Download and install
Get Free via Freemius checkout on Pricing, or buy a paid plan — Freemius emails the plugin ZIP. Same file for free and paid use. Install via Plugins → Add New → Upload Plugin. See Installation.
2. Choose a plan
Pick a plan on the pricing page. Free is Basic forever. Solo, Studio, and Agency include the same Pro features — paid plans differ by site activations and support:
- Free — Basic workspace, no license key required
- Solo — 1 site (yearly or lifetime)
- Studio — 5 sites, yearly or lifetime
- Agency — 25 sites, yearly or lifetime, priority support
3. Activate in WordPress
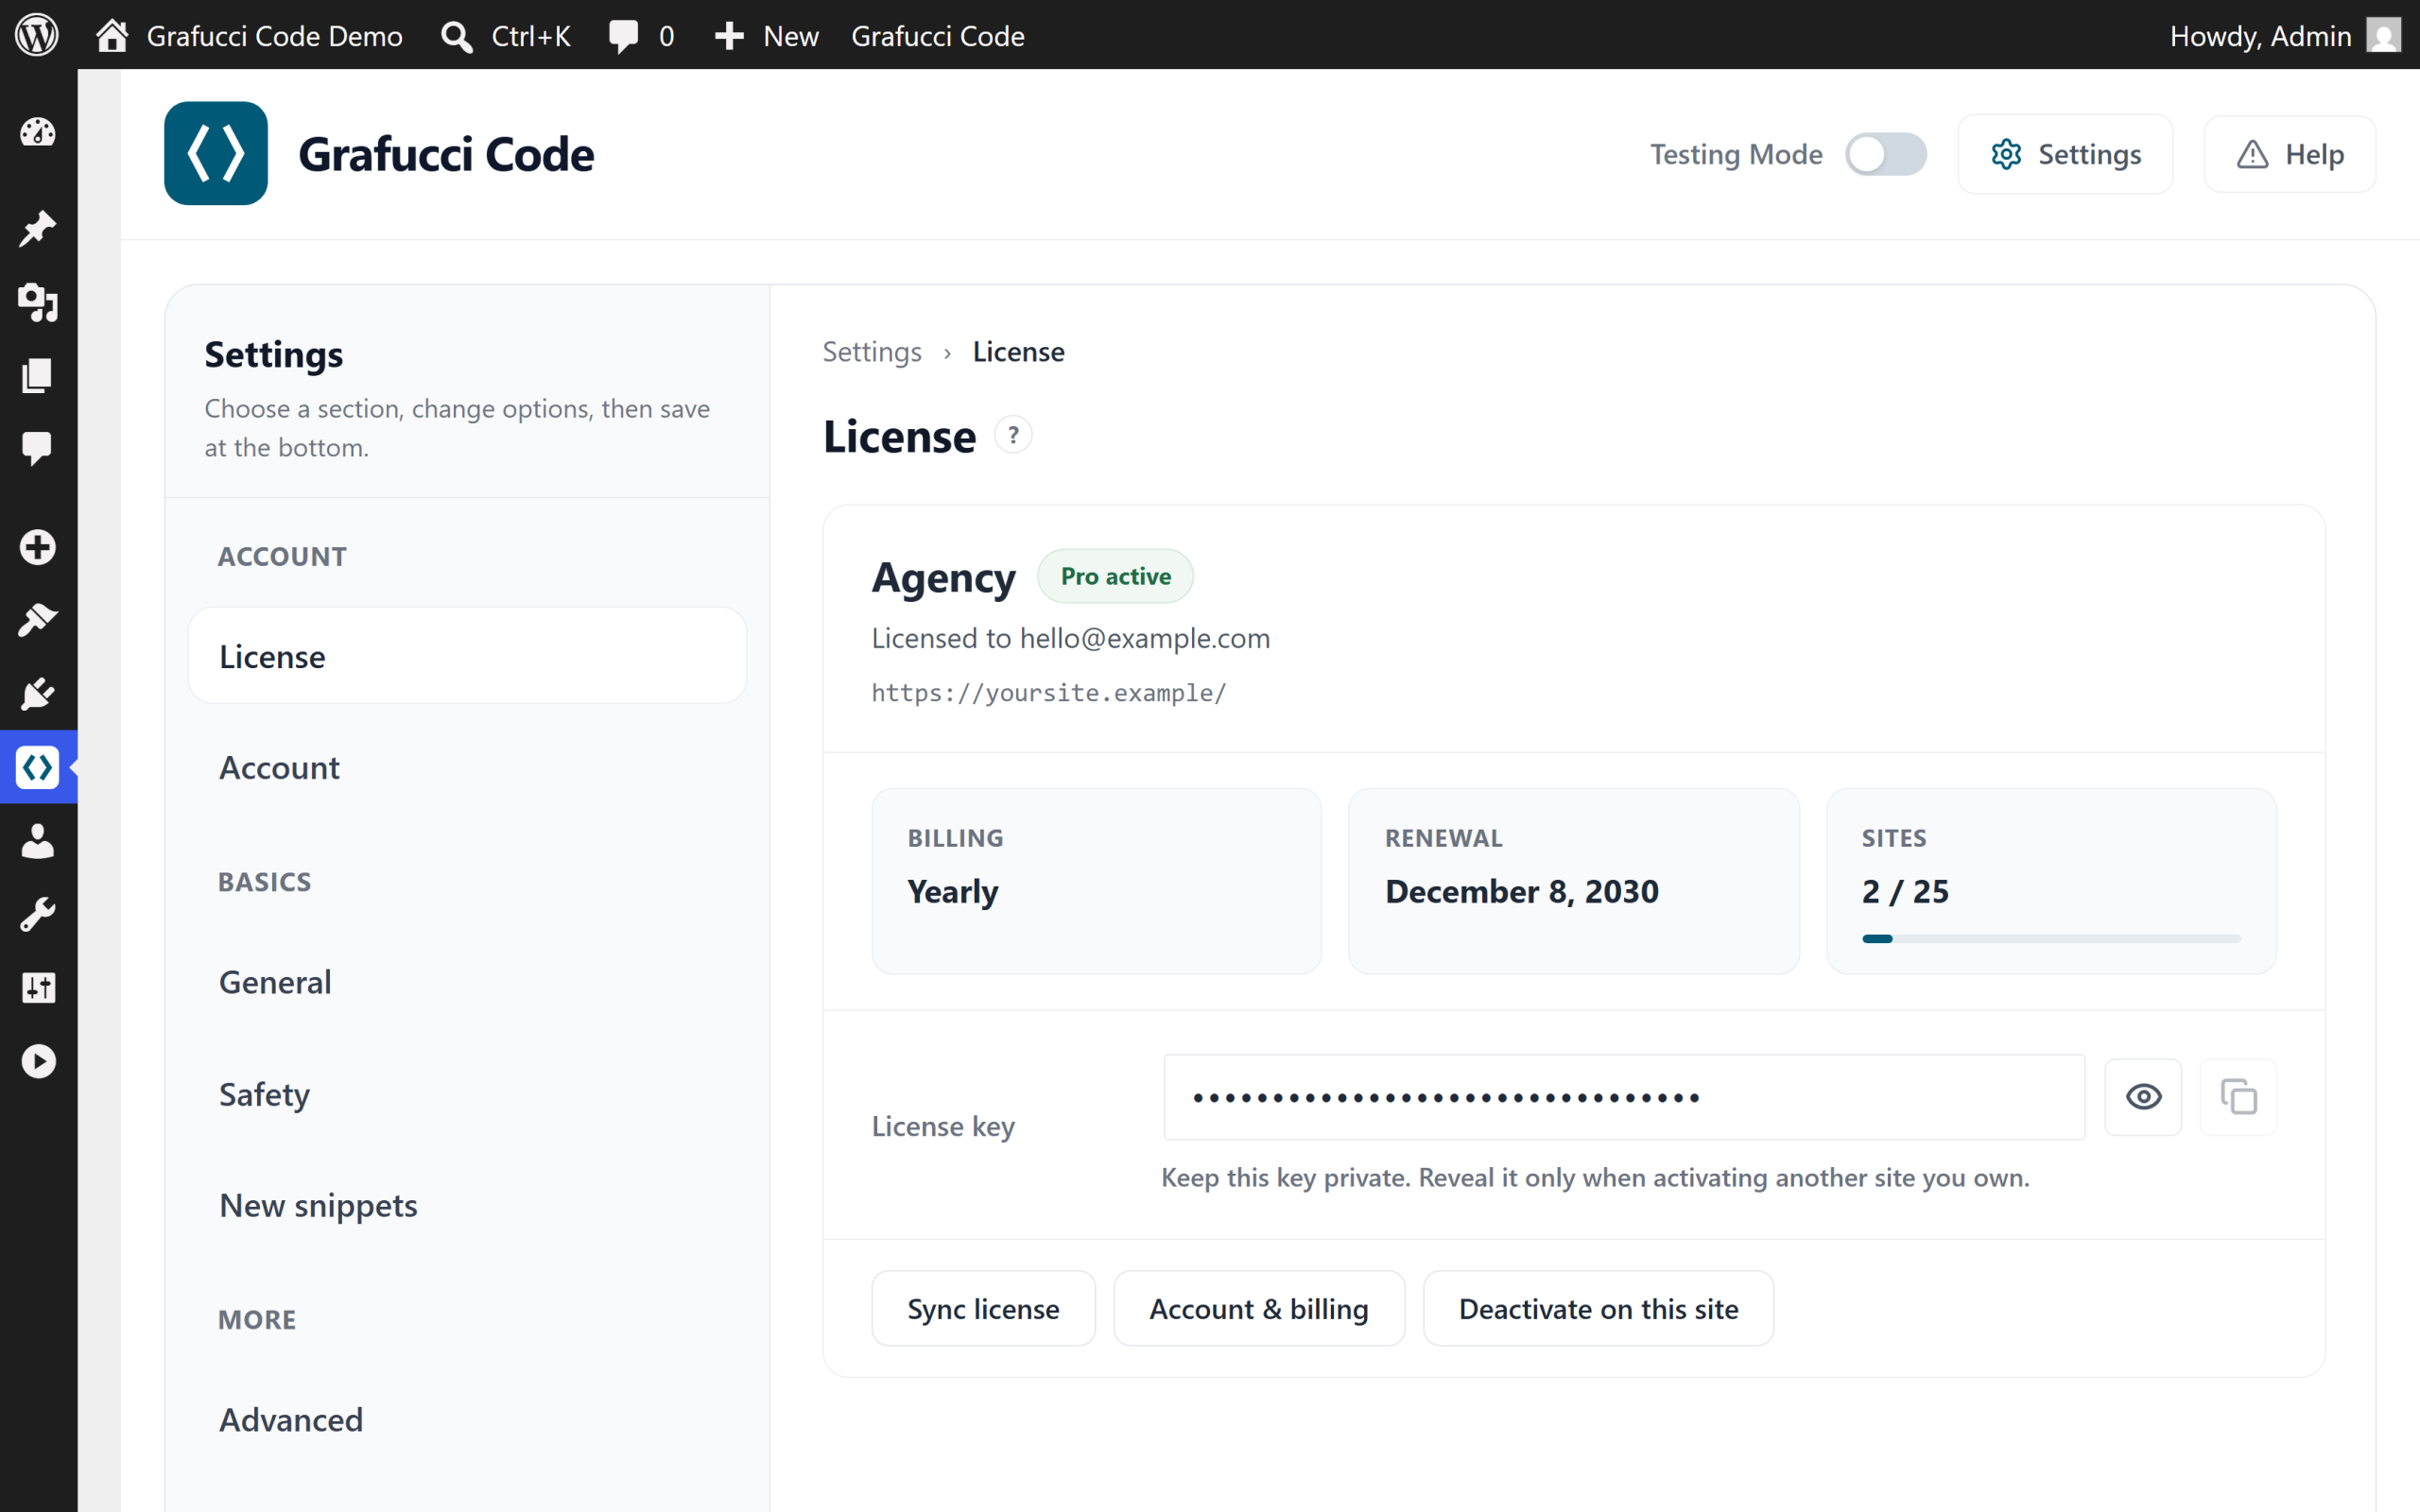
- Open Settings → License
In the Grafucci Code admin menu, go to Settings and open the License panel.
- Freemius opt-in (first time)
On first run, complete the Freemius prompt and click Allow & Continue.
- Paste your secret license key
Use the secret key from your purchase email — not a
pk_public key. - Pro features unlock
GitHub Sync, Testing Mode, import/export, and other Pro tools become available immediately.
4. Manage activations
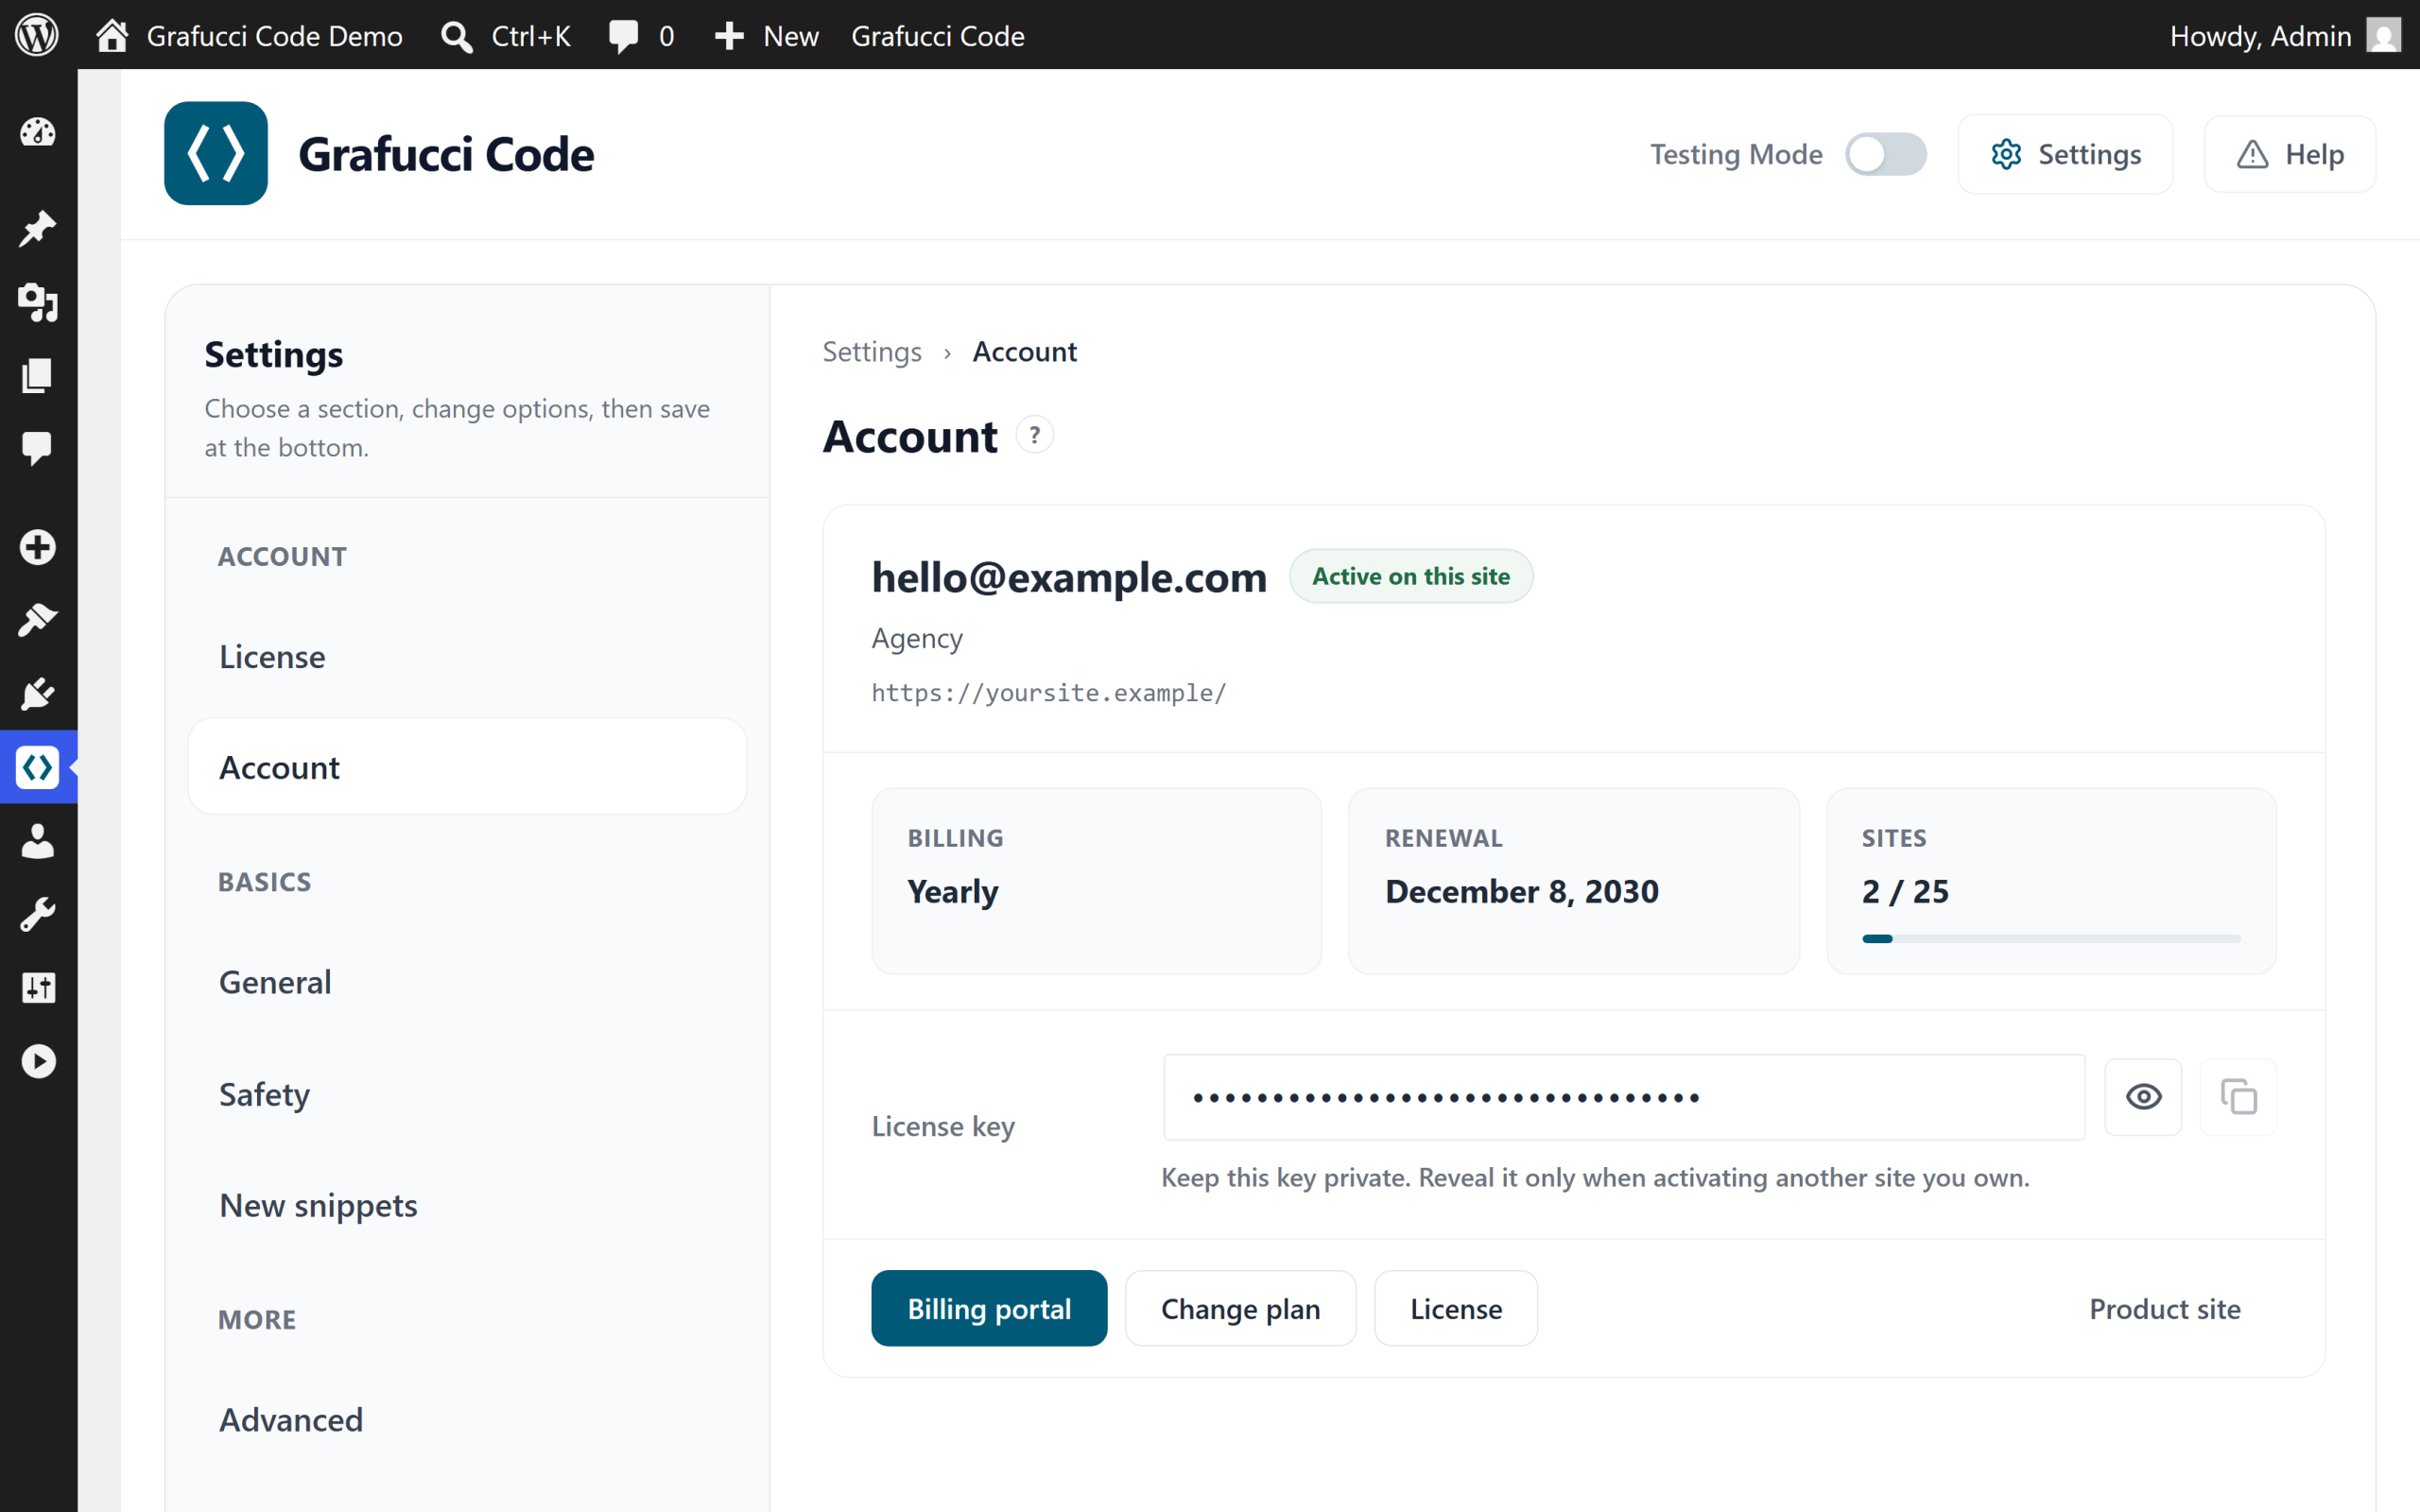
Each WordPress site where you activate the license counts toward your plan limit. Staging and local sites may not count against production limits — configured through Freemius.
- The free tier keeps working on that site.
- Pro features lock — GitHub Sync, import/export, Testing Mode, unlimited generated pages, and full version history — until you renew and reactivate.
- You will not receive plugin updates or support until you renew.
- You cannot activate new sites until the license is active again.
More answers: Product FAQ · Free vs Pro